Step-by-Step Guide: Mastering Chain Link Fence Assembly
Release time:2026-02-24 Click:12
Chain link fences are a popular choice for residential, commercial, and industrial properties due to their durability, affordability, and low maintenance. However, proper chain link fence assembly is key to ensuring the structure is stable, secure, and long-lasting. Whether you’re a DIY enthusiast or hiring a professional, understanding the assembly process helps guarantee a successful installation that meets your needs.
The first step in chain link fence assembly is planning and preparation. This involves measuring the area to determine the length of the fence, marking the location of posts, and gathering all necessary materials—including posts, rails, chain link fabric, tension bands, caps, and hardware. It’s also important to check local building codes for height restrictions and property line requirements to avoid compliance issues.
Next comes setting the fence posts, which are the foundation of the entire structure. Corner posts and gate posts need to be thicker and set deeper into the ground (usually 30-36 inches) than line posts, as they bear more tension. Holes are dug, posts are placed, and concrete is poured to secure them in place. All posts must be level and plumb to ensure the fence is straight and stable once assembled.
Once the concrete has cured, the rails and tension bands are installed. Rails are attached to the posts using brackets, creating the top and bottom framework for the chain link fabric. Tension bands are secured to corner and gate posts to provide anchor points for stretching the fabric tightly. Proper tension is crucial—too loose, and the fence will sag; too tight, and it may warp or damage the posts.
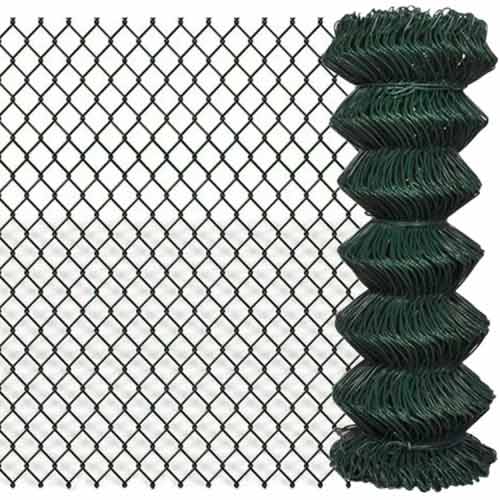
The chain link fabric is then unrolled and attached to the posts and rails. Starting at one corner post, the fabric is secured with ties, then stretched tightly across the length of the fence using a tension bar and come-along tool. It’s trimmed to fit the final length, and additional ties are added at regular intervals to keep it secure. Finally, post caps are placed on top of all posts to prevent water damage and add a finished look.
Finishing touches include installing gates (if needed) and checking for any loose hardware or sagging fabric. Regular inspections after assembly will help maintain the fence’s integrity over time. With careful planning and attention to detail, chain link fence assembly can result in a sturdy, functional barrier that provides security and peace of mind for years to come.
Previous article:Rust Resistant Park Chain Link Fence Long Lasting Choice
Next article:Versatile Solutions for Green Chicken Wire Mesh in Garden and Agricultural Applications
Hot products
Mobile: +86 13292822131
Email:metalproducts2023@163.com
Email:634049339@qq.com